There is a certain quiet magic found in my Savannah kitchen as twilight settles over the marsh. The air cools, and sometimes a whisper of sweetness calls from within. My heart often longs for a simple comfort, something warm and utterly delightful. That is when this easy microwave mug cookie recipe truly shines. It is a small treasure, perfect for those moments when only a fresh-baked treat will do.
It is more than just a quick treat; it is a moment of pure, unadulterated joy. This recipe has rescued many an evening craving, offering a homemade hug without much fuss. It reminds me of those cherished, easy moments we all seek. The beauty lies in its simplicity and speed. You can literally go from zero to warm, gooey cookie in mere minutes. This recipe embodies the spirit of effortless indulgence.
Sharing this recipe feels like sharing a little piece of my heart with you. It is a testament to how even the smallest things can bring immense pleasure. Imagine curling up with a soft, warm cookie, still steaming gently from your favorite mug. This is the kind of easy happiness I love to bring into my home. I hope it brings that same sweet comfort to yours too.
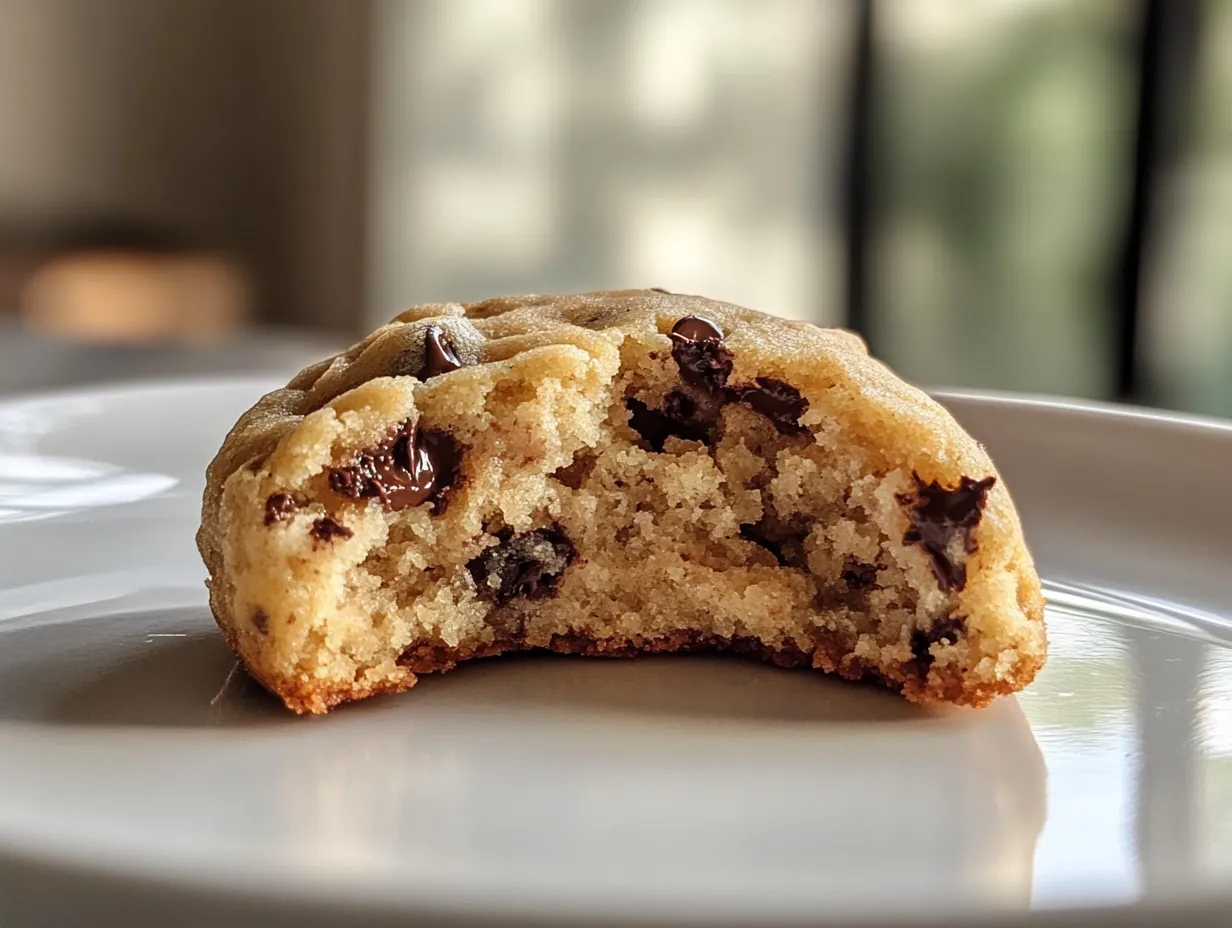
Gathering Your Simple Mug Cookie Ingredients
Creating a truly delicious mug cookie begins with a few basic pantry staples. Each ingredient plays an important role in achieving that perfect chewy, gooey texture we all adore. You likely have most of these items on hand right now, making this a spontaneous treat. Let us look closer at what you will need.
- 2 tablespoons unsalted butter, melted
- 1 large egg yolk
- 1 teaspoon vanilla extract
- 3 tablespoons granulated sugar
- 3 tablespoons packed light brown sugar
- 1/4 teaspoon salt
- 1/4 teaspoon baking soda
- 6 tablespoons all-purpose flour
- 2 tablespoons chocolate chips (or more, to taste)
Unsalted Butter: Butter provides richness and helps with texture. Choose good quality unsalted butter for best flavor control. If you only have salted butter, omit the added salt. Ensure it is fully melted before mixing for a smooth batter.
Egg Yolk: This is a key secret for a chewy, soft mug cookie. The yolk adds fat and richness without making the cookie tough or rubbery. It helps bind ingredients beautifully. A tablespoon of applesauce can offer moisture as a substitute, but the texture will differ slightly.
Light Brown Sugar: This sugar is essential for a moist and chewy cookie. Its molasses content adds depth of flavor and contributes to a soft texture. Pack it firmly. Dark brown sugar also works, giving a slightly richer taste. Granulated sugar alone results in a crisper cookie.
All-Purpose Flour: Standard all-purpose flour works perfectly for structure. Spoon and level your flour to avoid adding too much, which can make the cookie dry. A 1-to-1 gluten-free baking flour blend can be used as a direct substitution. Ensure it contains xanthan gum for structure.
Chocolate Chips: I prefer semi-sweet chocolate chips for balanced sweetness. Feel free to use milk chocolate, dark chocolate, or white chocolate chips. Mini chocolate chips distribute more evenly. You can also chop a chocolate bar for varied sizes.
Crafting Your Perfect Easy Mug Cookie
Making this mug cookie is wonderfully simple and quick, a true testament to easy baking. Just follow these steps, and you will have a warm, delicious treat in your hands in no time. Let us begin this sweet journey together.
-
Melt the butter in a microwave-safe mug. This usually takes about 20 to 30 seconds. Swirl the melted butter around the bottom and sides of the mug to coat it lightly.
Chef's Tip: Using the same mug for melting butter and mixing means less cleanup. Ensure your mug is genuinely microwave-safe to prevent accidents. A sturdy ceramic mug works best.
-
Add the egg yolk, vanilla extract, granulated sugar, packed light brown sugar, and salt directly into the mug with the melted butter. Use a small fork or a mini whisk to thoroughly combine all these wet ingredients. Keep whisking until the mixture is smooth and fully incorporated, without any streaks of sugar or egg yolk.
Chef's Tip: Whisking well at this stage ensures even distribution of flavors and consistent cookie texture. Sugars need to dissolve into the wet ingredients. Strong whisking helps incorporate air, leading to a lighter cookie.
-
Next, stir in the baking soda and all-purpose flour. Add them directly into the wet mixture in the mug. Use your fork or whisk to gently fold these dry ingredients into the wet until they are just combined. Stop mixing as soon as you no longer see any dry flour streaks.
Chef's Tip: Overmixing flour develops gluten, which can lead to a tough cookie. For a tender, soft mug cookie, mix only until the flour disappears. A few small lumps are perfectly fine and often lead to a more tender result.
-
Finally, fold in your chosen chocolate chips. You can be generous here if you love extra chocolate. Gently stir them into the cookie dough using your fork or a small spoon until they are evenly distributed throughout the batter. Do not overmix, just ensure they are nicely incorporated.
Chef's Tip: Reserve a few chocolate chips to press into the top of the dough before microwaving. This makes for beautiful presentation and ensures melted chocolate on top. You can also mix in other additions like nuts or sprinkles.
-
Microwave your mug cookie for 45 to 90 seconds. The exact time depends significantly on your microwave's wattage and desired gooeyness. I recommend starting with 60 seconds. Then check it; if it still looks too wet, microwave in 10-second increments. The edges should look set, but the center can remain slightly soft and gooey.
Chef's Tip: Knowing your microwave is key. High-wattage microwaves will cook faster, so start with less time. A slightly undercooked, gooey center is the hallmark of a perfect mug cookie. Overcooked mug cookies can become dry.
-
Once cooked, carefully remove the hot mug from the microwave. The cookie will be very hot and soft, so handle with care. Let it cool slightly on a heat-safe surface for about 2 to 5 minutes before enjoying. This cooling time allows the cookie to set further.
Chef's Tip: Resist the urge to dive in immediately. Cooling allows flavors to meld and texture to firm up just enough. A slightly cooled mug cookie will be firm on the edges and wonderfully gooey in the middle.
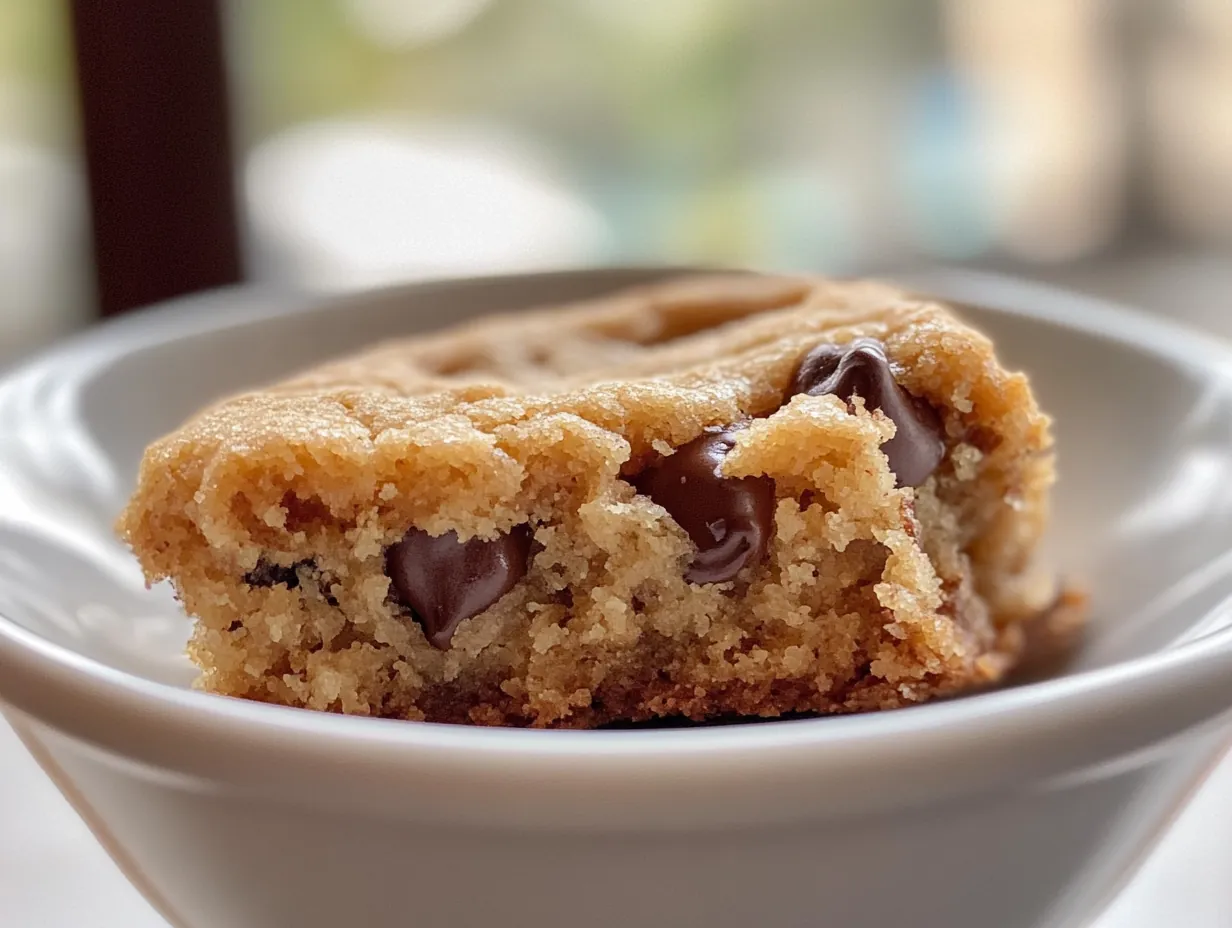
Creative Twists for Your Mug Cookie Creation
While the classic chocolate chip mug cookie is a pure delight, sometimes it is fun to explore new flavors. This recipe is incredibly versatile, inviting you to experiment with different additions and toppings. Let your creativity guide you to your next favorite mug cookie experience.
My Creative Touch:
- Peanut Butter Swirl: For peanut butter lovers, this variation is a must-try. After folding in chocolate chips, drop a teaspoon of creamy peanut butter onto the dough. Use a toothpick to gently swirl it into the batter. This creates beautiful ribbons of peanut butter. The combination of warm chocolate and rich peanut butter is absolutely divine.
- Oatmeal Raisin Delight: Transform your mug cookie into a wholesome, spiced treat. Reduce flour by one tablespoon and replace with one tablespoon of rolled oats. Add a pinch of cinnamon and nutmeg to the dry ingredients. Instead of chocolate chips, fold in two tablespoons of plump raisins. This variation brings a comforting, spiced flavor.
Gourmet Pairings:
- Drink Pairing: A tall glass of cold milk is the ultimate companion. The refreshing coolness perfectly balances the warmth and sweetness of the fresh treat. For a more indulgent pairing, a scoop of vanilla bean ice cream melting slowly over the warm cookie is pure heaven.
- Side Dish Pairing: A small dollop of homemade whipped cream can elevate it further. The light, airy texture and subtle sweetness complement the rich cookie beautifully. A sprinkle of sea salt on top before serving also enhances all the flavors.
Storing Your Delightful Mug Cookie
Though this single-serving treat is best enjoyed immediately, sometimes you might have a rare leftover. Proper storage ensures your mug cookie maintains its deliciousness. Here is how to keep your sweet indulgence fresh.
Storage: A mug cookie is truly at its peak right after cooking. If you have leftovers, allow it to cool completely in the mug. Cover the mug tightly with plastic wrap or transfer the cookie to an airtight container. Store at room temperature for up to one day. For longer storage, refrigerate for up to two days, but the texture will firm up significantly.
Freezing: Freezing a cooked mug cookie is not typically recommended as it alters the texture. The joy of this recipe is its speed and freshness. Instead, prepare the raw dough, form a small disc, and wrap it tightly. Place this dough disc in a freezer-safe bag. Freeze for up to one month. When ready to bake, place frozen dough directly into a mug and microwave, possibly adding extra seconds.
Reheating: If you have a refrigerated mug cookie, a quick reheat can restore its warmth and softness. Place it back into a microwave-safe mug. Microwave on high for 10-15 seconds. Do not overheat, as this can make it tough and dry. Aim to gently warm it through, restoring some of that lovely gooeyness.
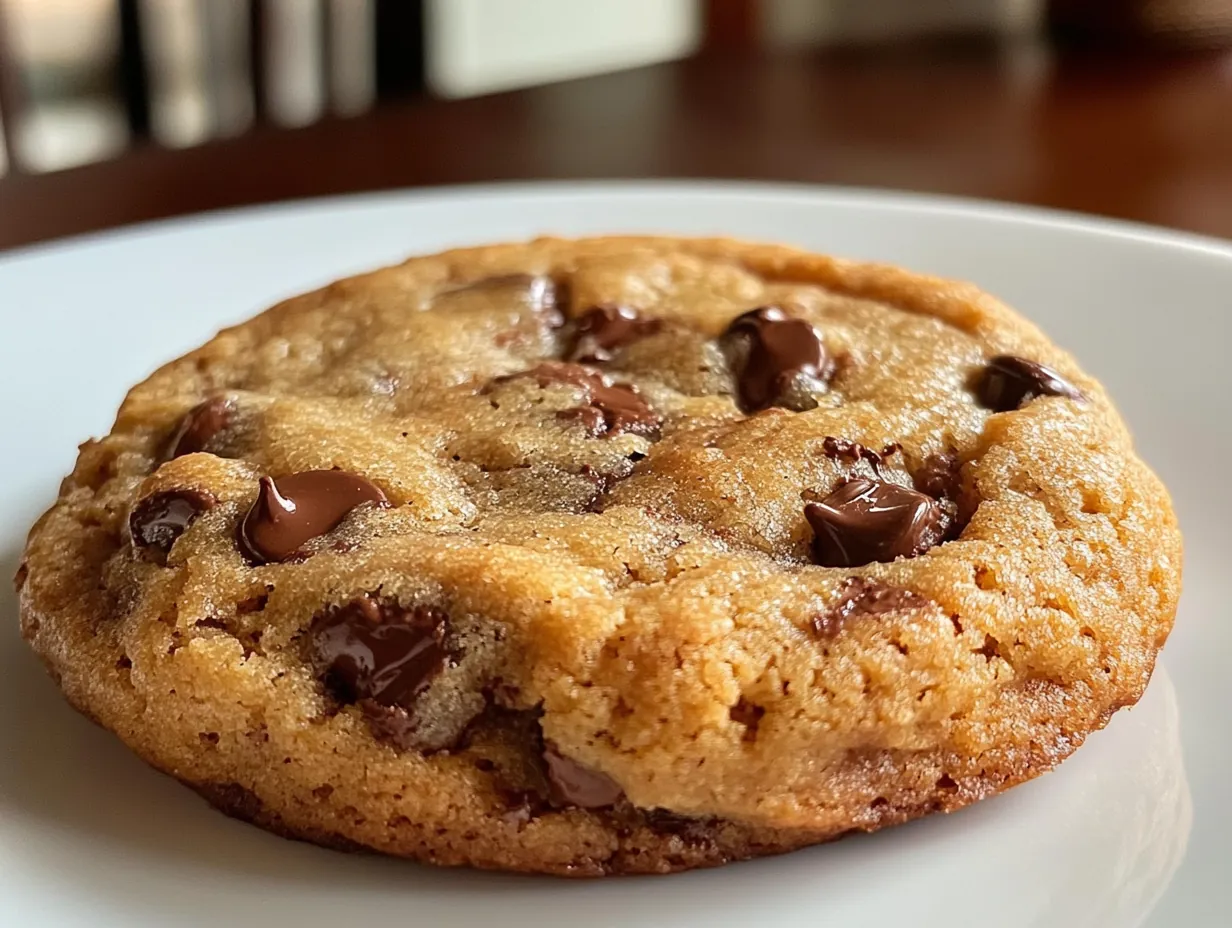
Your Questions About This Yummy Mug Cookie Answered
I know new recipes can sometimes bring up a few questions, even for the simplest treats. I am here to help ensure your mug cookie experience is nothing short of perfect. Here are some common queries I often receive about this quick dessert.
Can I make this mug cookie without an egg yolk?
Yes, you can try, but the texture will differ. The egg yolk adds significant richness and chewiness. Without it, your cookie might be more crumbly or cake-like. A teaspoon of applesauce or a tiny splash of milk can add moisture. However, the yolk truly makes this cookie feel decadent and classic.
Why did my mug cookie turn out dry and tough?
Overcooking in the microwave is the most common reason. Microwaves vary, so start with the lower end of the cooking time. Cook in short bursts until edges are set but the center still looks slightly gooey. Overmixing the flour also develops gluten, leading to a tough texture. Mix only until flour streaks disappear.
Can I double this recipe for a larger serving?
This recipe is designed for a single serving. Doubling it in the same mug is not recommended. It affects cooking time and evenness, likely resulting in an undercooked center or dry exterior. If you want two mug cookies, simply make two separate batches in two different mugs. It is quick to make a second one, ensuring each cooks perfectly.
There you have it, my dear friends – a recipe for a delightful microwave mug cookie that brings so much joy. It is a simple pleasure, born from a desire for warmth and sweetness without the fuss. I hope this easy treat finds a special place in your home, just as it has in mine. Remember, the best recipes are those that bring comfort and a smile, and this one certainly does both.
Do not worry if your first attempt is not picture-perfect. The beauty of home cooking lies in the process and the love you pour into it. Each time you make it, you will learn more about your microwave and your preferences. Feel free to experiment with your favorite chocolate chips or a sprinkle of sea salt. Make it your own, a true reflection of your sweet cravings.
I truly hope you take a moment to whip up this little wonder. Please come back and share your experiences in the comments below. I love hearing how my recipes bring joy to your kitchens. Until next time, may your days be filled with warmth, good food, and plenty of sweet moments. Happy baking, from my Savannah kitchen to yours.
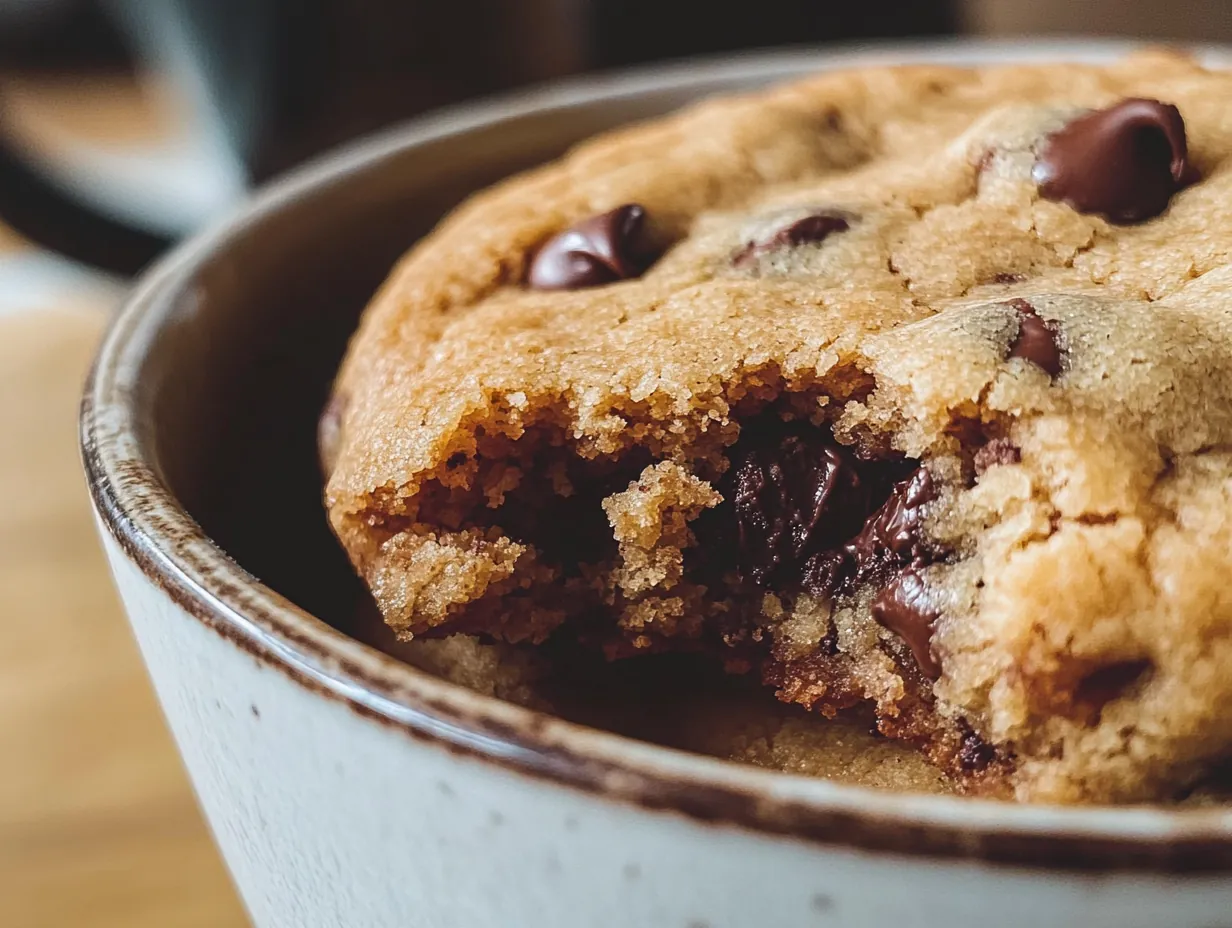
Reader Reviews
This was such a lifesaver when I had a sudden chocolate craving! So quick and surprisingly delicious for being made in the microwave.
Wow, perfectly gooey and warm just like a real cookie! My go-to for a single-serving dessert now.
A little soft for my preference, but definitely met the 'sweet treat in minutes' promise. Great for a quick fix!
Loved how simple this was! I added a few mini chocolate chips and it was divine. Will definitely make this again.
Leave a Review