There are days in my Savannah kitchen when a sudden, undeniable craving for something sweet takes hold. It is usually late afternoon. The sun streams through the window. The house feels quiet. Sometimes, a full-sized batch of cookies simply will not do. That is when my trusty microwave mug cookie recipe shines.
This simple pleasure holds a special place in my heart. It is the culinary equivalent of a warm hug. It speaks to that desire for immediate comfort without fuss. There is no waiting for dough to chill. No turning on the oven. Just a few pantry staples and a minute or two of microwave magic.
This microwave mug cookie is more than just a quick treat. It is a testament to the joy of simple, homemade goodness. It reminds us that even small moments of indulgence can bring immense satisfaction. This recipe brings that soulful, slow-cooked feeling into a speedy package. It is perfect for those moments when you need a little sweetness, right now.
The beauty of this recipe lies in its ease and its ability to deliver pure, unadulterated cookie happiness. It truly is a yummy and easy recipe. You deserve a moment of delicious solitude. This mug cookie is here to deliver just that. Let us make some magic together.
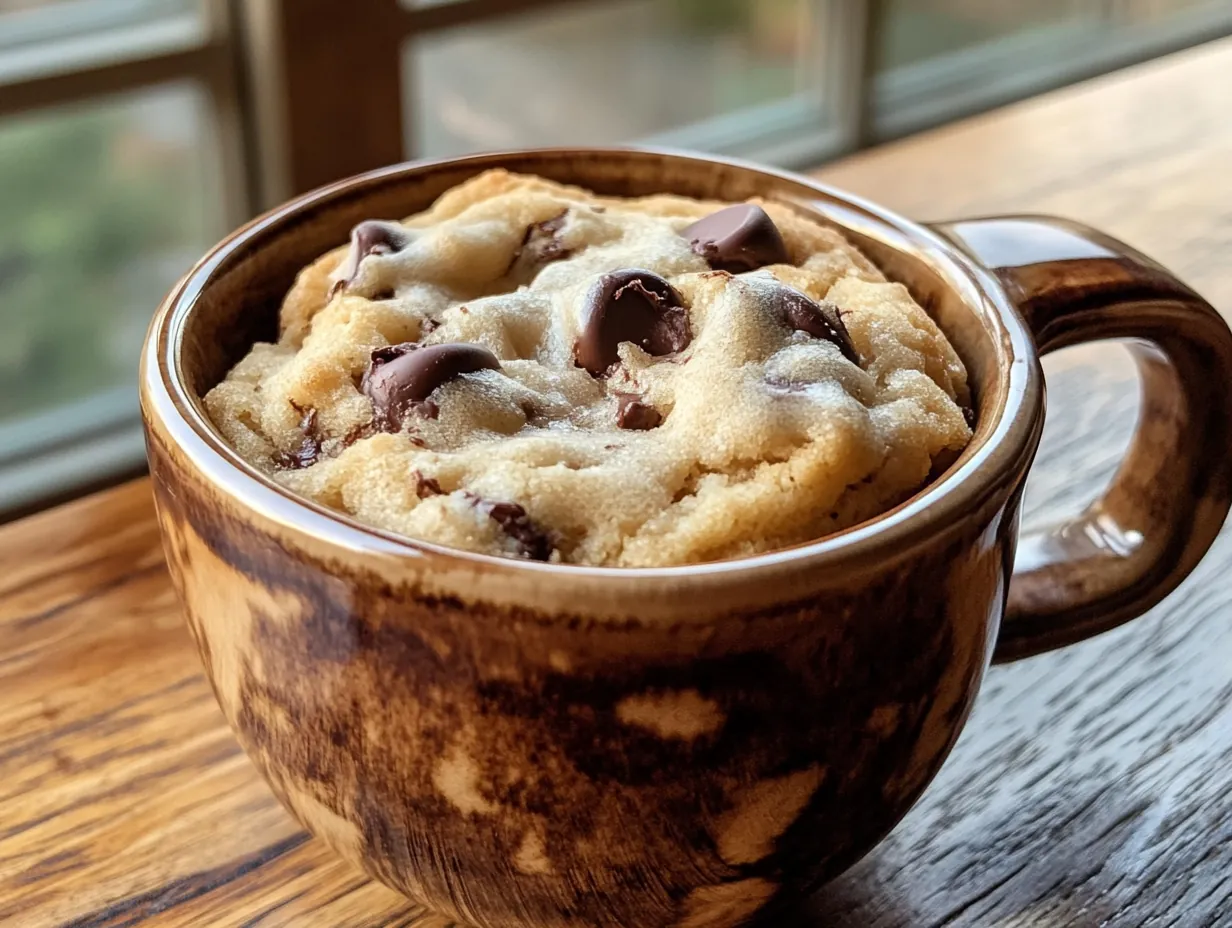
Essential Ingredients for Your Easy Mug Cookie Success
Creating a truly delicious microwave mug cookie starts with the right ingredients. Each item plays a vital role in achieving that perfect balance of chewy edges and a gooey center. Gather your supplies before you begin. This ensures a smooth and enjoyable baking process.
- 2 tablespoons unsalted butter, melted
- 1 tablespoon granulated sugar
- 1 tablespoon light brown sugar, packed
- 1/4 teaspoon vanilla extract
- 1 large egg yolk
- 3 tablespoons all-purpose flour
- 1/4 teaspoon baking powder
- Pinch of salt
- 2 tablespoons chocolate chips, plus more for topping
Ingredient Notes:
All-Purpose Flour: This forms the structure of our cookie. Measuring flour correctly is key to avoiding a dry or tough mug cookie. Spoon your flour into the measuring cup, then level it off with a knife. Do not scoop directly from the bag. Scooping packs the flour too tightly. This adds too much flour to your recipe. For a gluten-free option, you can substitute a 1:1 gluten-free baking blend. Ensure it contains xanthan gum. This helps maintain texture. However, the final cookie might have a slightly different crumb.
Unsalted Butter: Butter brings richness and tenderness to the cookie. Using unsalted butter allows you to control the salt content in the recipe. Melted butter ensures a smooth, even distribution throughout the dough. You can microwave it briefly until just melted. Be careful not to overheat it. If you only have salted butter, omit the added pinch of salt in the recipe. For a dairy-free option, a neutral-flavored oil like refined coconut oil or vegetable oil can work. This will slightly alter the flavor and texture. The cookie will be less rich.
Chocolate Chips: These are the stars that make a cookie truly satisfying. Use good quality semi-sweet chocolate chips for the best flavor. They melt beautifully and create pockets of melted chocolate throughout the cookie. Feel free to use milk chocolate chips if you prefer a sweeter cookie. Dark chocolate chips are also wonderful for a richer, less sweet result. If you do not have chips, a chopped chocolate bar works perfectly. Just make sure to chop it into small, even pieces.
Crafting Your Perfect Microwave Mug Cookie: Step-by-Step
Let us create this delightful mug cookie together. Follow these steps carefully for a warm, soft, and utterly satisfying treat.
In a microwave-safe mug (around 10-12 ounces is ideal), melt the unsalted butter. Microwave for 15-20 seconds. Watch it carefully to prevent splattering. The butter should be fully liquid but not boiling hot.
Chef's Tip: Using a microwave-safe mug that is not too small is important. This prevents overflow during cooking. A larger mug also allows for easier mixing. This reduces the chance of making a mess.Add the granulated sugar and light brown sugar to the mug with the melted butter. Stir well with a small whisk or a fork. Mix until the sugars are mostly dissolved. The mixture should look cohesive and slightly glossy. This step ensures an even sweetness.
Chef's Tip: Thoroughly mixing the sugars into the warm butter helps them dissolve. This prevents a gritty texture in your final cookie. Take a full minute or two to really combine these ingredients well.Stir in the vanilla extract and the large egg yolk. Mix until everything is fully incorporated. The mixture will become lighter in color and slightly thicker. Ensure no streaks of yolk remain visible. This forms the base of your cookie dough.
Chef's Tip: An egg yolk adds richness and helps keep the cookie moist and chewy. Make sure it is fully blended into the wet ingredients. This prevents any cooked egg bits in your cookie. Use a room temperature egg yolk if possible.Add the all-purpose flour, baking powder, and a pinch of salt to the wet mixture in the mug. Stir gently until just combined. Be careful not to overmix. Overmixing can lead to a tough cookie. Stop mixing as soon as you see no dry streaks of flour.
Chef's Tip: The secret to a tender cookie is minimal mixing once the flour is added. Too much stirring develops the gluten in the flour. This makes for a chewy, rubbery texture. Mix just enough to combine everything.Fold in the 2 tablespoons of chocolate chips. Use a spoon or fork to distribute them evenly throughout the dough. You can gently press a few extra chocolate chips on top of the dough. This makes it look extra inviting once cooked.
Chef's Tip: Adding chocolate chips at this stage ensures they are evenly dispersed. They will melt beautifully during cooking. Pressing extra chips on top creates a lovely visual appeal. It also gives you gooey chocolate in your first bite.Microwave the mug cookie for 60 to 90 seconds. The exact time will depend on your microwave's wattage. Start with 60 seconds. Check the cookie. It should look mostly set around the edges but still appear slightly gooey in the center. If needed, microwave for an additional 10-15 seconds. Do this until it reaches your desired consistency.
Chef's Tip: Microwaves vary significantly in power. Knowing your microwave's wattage helps. A 1000-watt microwave may need less time. A 700-watt microwave might need more. It is always better to undercook slightly. You can always add more time. Overcooking will result in a dry, hard cookie.Once cooked, carefully remove the mug from the microwave. The mug will be hot. Let the cookie cool in the mug for at least 5 minutes before enjoying. This cooling time is crucial. It allows the cookie to set properly and prevents burns. The cookie will continue to cook slightly during this rest period. It will also become firmer and more cohesive.
Chef's Tip: Do not skip the cooling step. This allows the cookie to finish cooking gently. It also makes it easier to eat without burning your mouth. The texture improves significantly as it cools a bit. This rest ensures that perfect gooey-but-not-raw center.Serve warm directly from the mug. You can add a scoop of vanilla ice cream or a drizzle of chocolate sauce. A sprinkle of sea salt can also elevate the flavors. Enjoy your warm, homemade treat immediately. This cookie is best eaten fresh. Share your creation on social media.
Chef's Tip: This mug cookie is truly a single-serving delight. It is meant to be enjoyed right away. The fresh warmth and gooey texture are at their peak immediately after cooling. Make it a special moment for yourself.
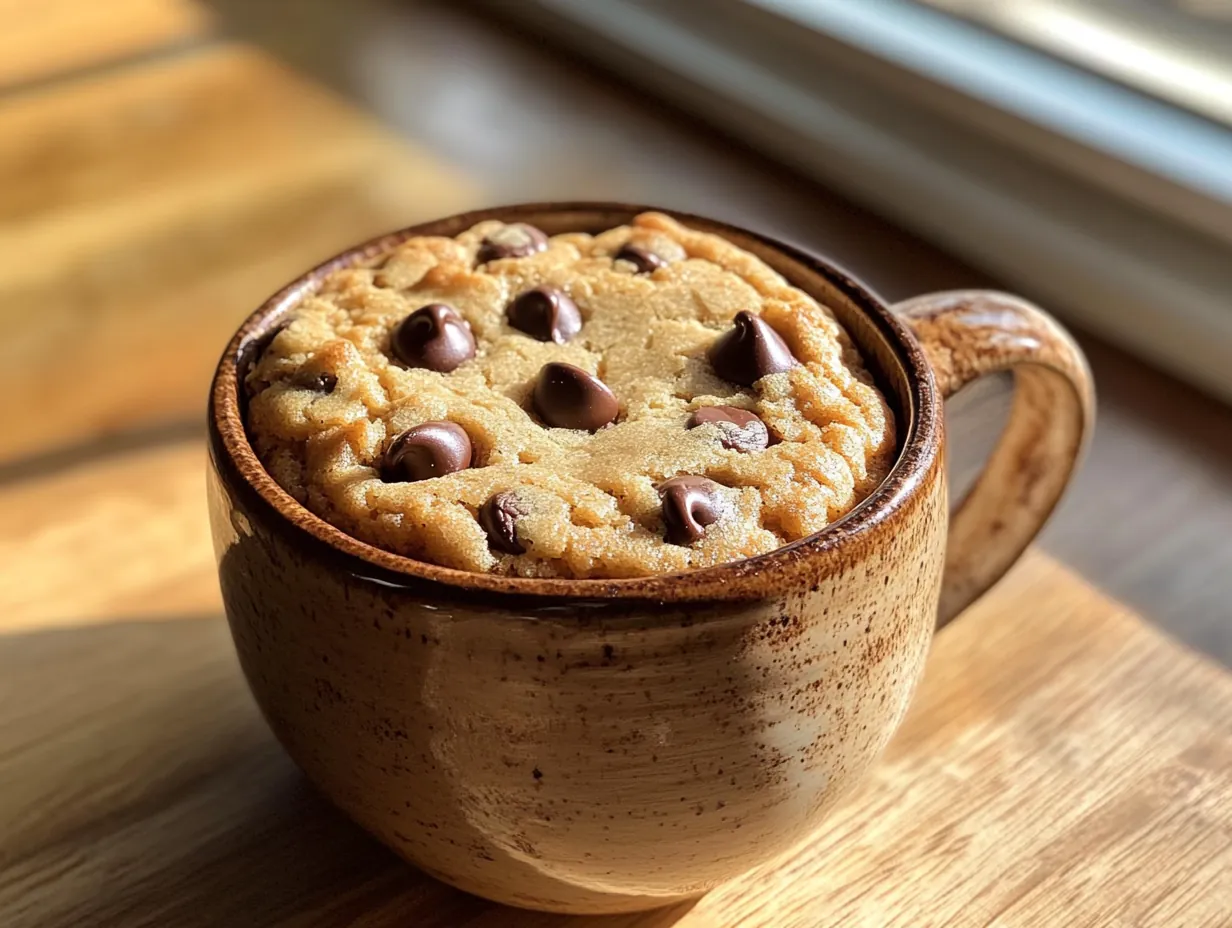
Creative Twists and Pairings for Your Mug Cookie
While the classic chocolate chip microwave mug cookie is wonderful, it is also a fantastic canvas for your creativity. Feel free to experiment with different flavors and additions. Make this easy recipe uniquely yours. Here are some ideas to inspire you.
My Creative Touch:
-
Peanut Butter Swirl: After adding the chocolate chips, spoon a teaspoon of creamy peanut butter onto the cookie dough. Use a toothpick or the tip of a knife to gently swirl it into the dough. This creates beautiful marbling. It also adds a rich, nutty flavor that pairs wonderfully with chocolate. Ensure the peanut butter is soft. This helps it swirl easily.
-
Cinnamon Sugar Delight: For a comforting spice twist, add 1/4 teaspoon of ground cinnamon to the dry ingredients. After cooking, sprinkle a tiny bit of cinnamon sugar (a mix of granulated sugar and cinnamon) over the warm cookie. This creates a cozy, aromatic profile. It is especially lovely during cooler months.
Gourmet Pairings:
-
A Cold Glass of Milk: There is simply no better pairing for a warm chocolate chip cookie than a tall, frosty glass of milk. The cold, creamy milk perfectly balances the cookie's sweetness and richness. It is a timeless combination that brings pure comfort and nostalgia. This pairing is simple yet incredibly satisfying.
-
Vanilla Bean Ice Cream: Elevate your mug cookie experience with a scoop of premium vanilla bean ice cream. The cold, melting ice cream creates a delightful contrast against the warm, gooey cookie. The vanilla notes enhance the chocolate flavor. This transforms a simple treat into a luxurious dessert. It is an instant dessert upgrade.
Storing and Reheating Your Mug Cookie
While this microwave mug cookie is truly best enjoyed fresh and warm, sometimes you might have a tiny bit left over. Or you might want to prepare ingredients ahead. Here are some tips for managing this speedy treat.
Storage: This mug cookie is designed as a single-serving, immediate treat. It loses its optimal gooey texture quickly. If you absolutely cannot finish it, cover the mug tightly with plastic wrap. Store it at room temperature for a few hours. For longer storage, you can refrigerate it for up to one day. Beyond that, the quality will significantly decline. It becomes quite dry.
Freezing: Freezing a fully cooked mug cookie is not recommended. The texture will become very tough and crumbly upon thawing. However, you can prepare a dry mix in advance. Combine the flour, baking powder, and salt in a small zip-top bag. Label it. When ready to bake, add it to your wet ingredients in the mug. This is a great way to have a "cookie kit" ready to go.
Reheating: If you have refrigerated your mug cookie, you can gently reheat it. Place the mug back in the microwave. Microwave on low power (around 50%) for 15-20 seconds. This will warm it through without overcooking it. Be careful not to overheat. The edges can quickly become hard and rubbery. Enjoy it immediately after reheating.
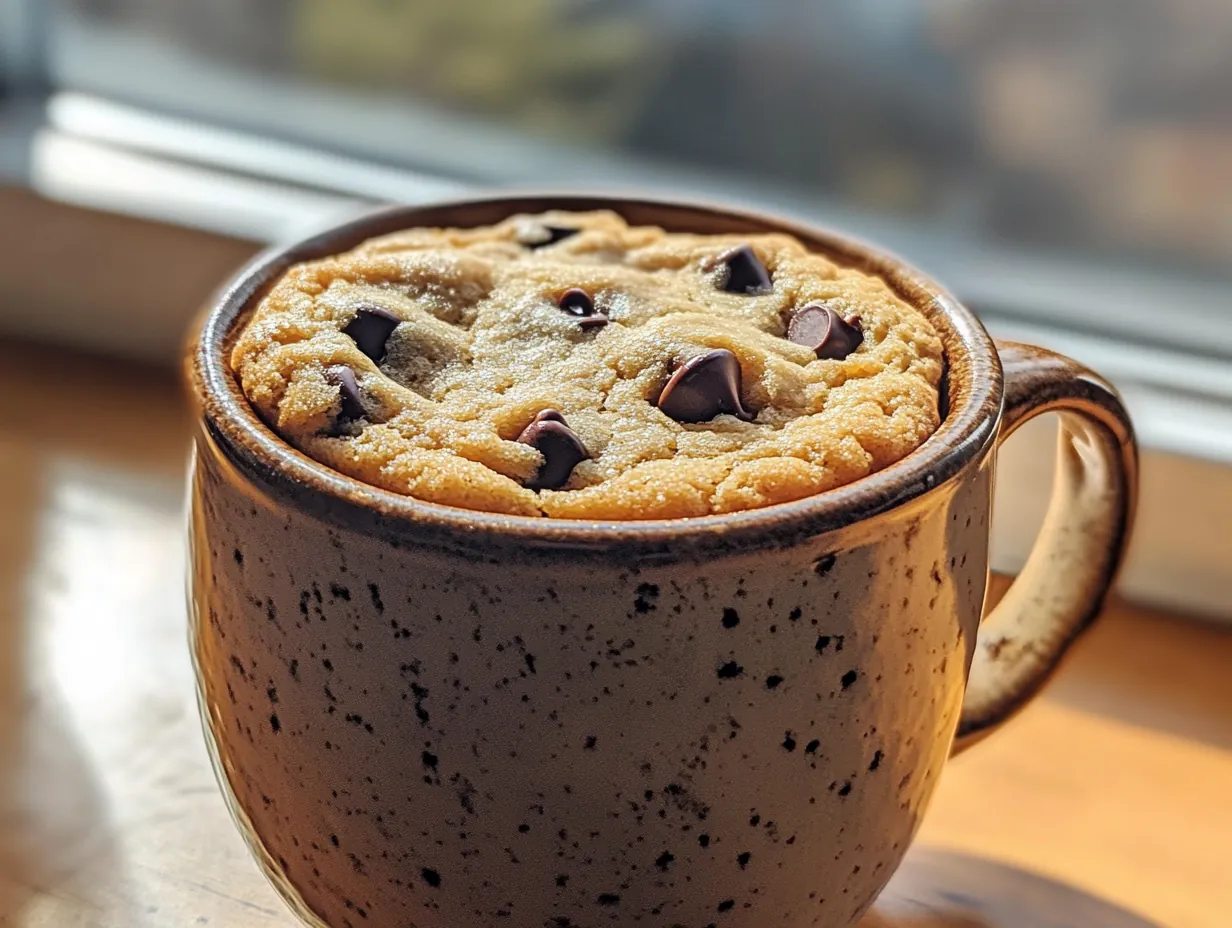
Your Mug Cookie Questions Answered
Making a microwave mug cookie is wonderfully easy, but a few common questions can arise. Here are some helpful answers to ensure your cookie turns out perfectly every time.
Why is my microwave mug cookie dry or tough?
A dry or tough mug cookie is usually a sign of overcooking. Microwaves vary greatly in power, so start with the minimum suggested time (60 seconds) and add more in short bursts. Another common culprit is too much flour. Ensure you measure your flour correctly by spooning it into the measuring cup and leveling it off. Do not scoop directly from the bag.
Can I make this microwave mug cookie without an egg yolk?
The egg yolk adds richness, moisture, and helps bind the cookie. You can try substituting it. Use about 1 tablespoon of milk, applesauce, or plain yogurt. The texture may be slightly different. It might be less chewy or a bit more cake-like. The cookie will still be delicious and satisfying.
What if my mug cookie overflows in the microwave?
Overflow usually happens if your mug is too small or if you have overfilled it. Ensure you are using a mug that is at least 10-12 ounces in capacity. Also, make sure to use the exact ingredient amounts. Do not add extra ingredients. A larger mug provides enough space for the cookie to rise and expand safely during cooking. This prevents any messy spills.
And there you have it, dear friends. A warm, gooey, utterly delightful microwave mug cookie. It is ready to bring a little bit of homemade joy into your day. This recipe is a testament to the simple pleasures in life. It reminds us that sometimes, the best things are also the quickest and easiest.
I find such satisfaction in creating something delicious with minimal fuss. This mug cookie embodies that spirit perfectly. It is a little indulgence that does not require a lot of time or effort. It is a sweet reward for those moments when you just need a treat. This recipe is a lovely way to practice self-care.
I encourage you to give this yummy and easy recipe a try. Do not worry about perfection. Simply enjoy the process and the delicious outcome. Feel free to share your mug cookie creations with me on social media. I always love seeing what you are baking. Until next time, keep savoring those simple, soulful moments in your kitchen.
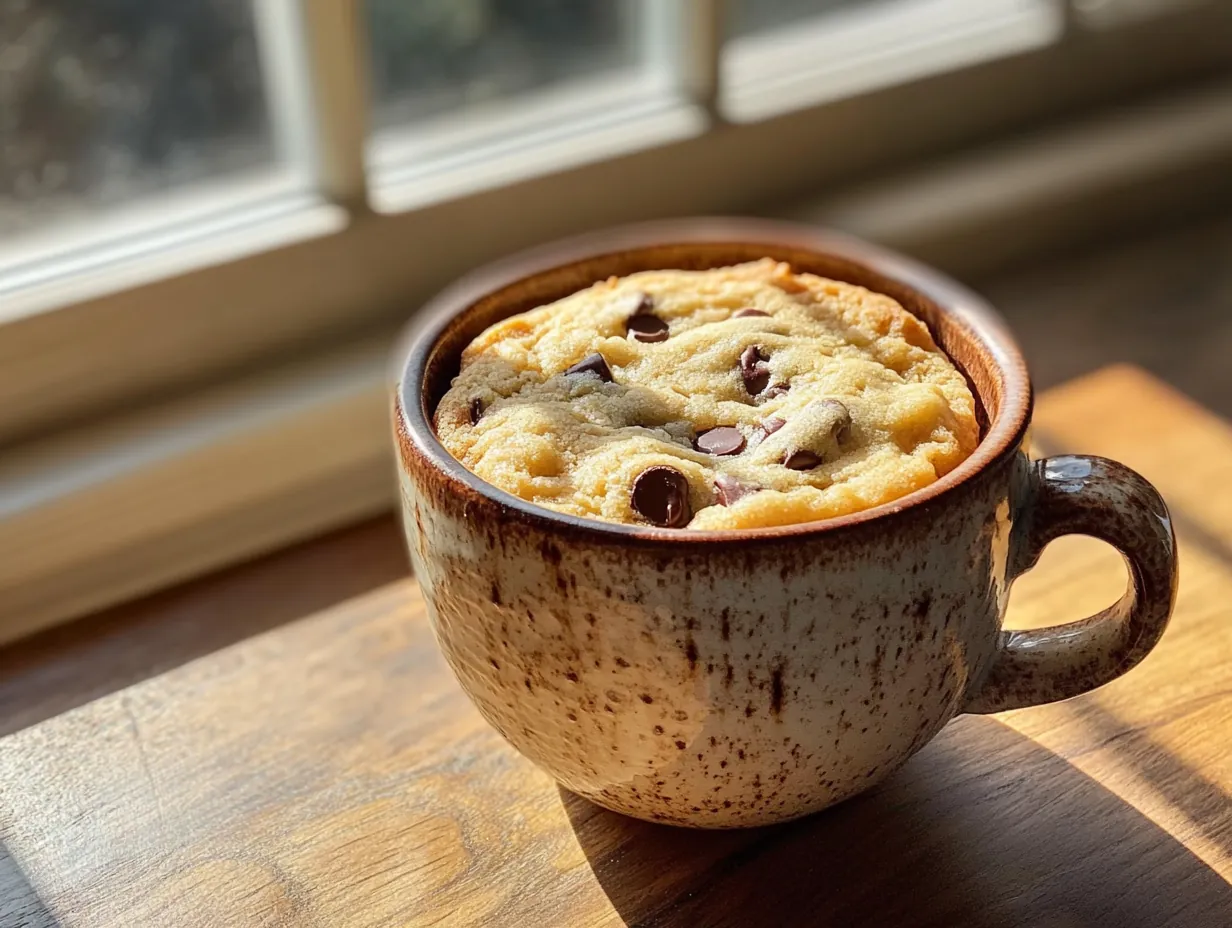
Reader Reviews
Tried this for the first time and it was a huge hit. The prep time was accurate and it smelled incredible while cooking.
I was skeptical at first but this recipe blew me away. The combination of flavors is genius. Bookmarked and shared!
The step-by-step instructions made this so easy to follow. Even my kids helped make it. A new family favorite for sure!
Leave a Review