There's a special kind of magic in a no-bake dessert. It’s the kind that brings effortless joy to any occasion. Here in Savannah, where the sun shines bright, a cool, creamy treat is always welcome. This No-Bake Banana Split Dessert is a beloved classic. It reminds me of simple summer days and family gatherings.
I remember my grandmother making this dessert. Her kitchen would fill with laughter and sweet aromas. It was always the first dish to disappear from the table. The layers of fresh fruit, creamy filling, and crunchy crust just sing together. It is a taste of pure nostalgia.
This recipe is perfect for home cooks of all skill levels. You need no oven, just a little patience for chilling. It’s a wonderful way to enjoy classic banana split flavors. You get all the fun without any melting ice cream mess. Each bite is a sweet, refreshing escape.
Sharing this recipe feels like sharing a piece of my heart. It is simple, sweet, and full of warmth. I hope it brings as much happiness to your home as it does to mine. Let's create some delicious memories together in your kitchen.
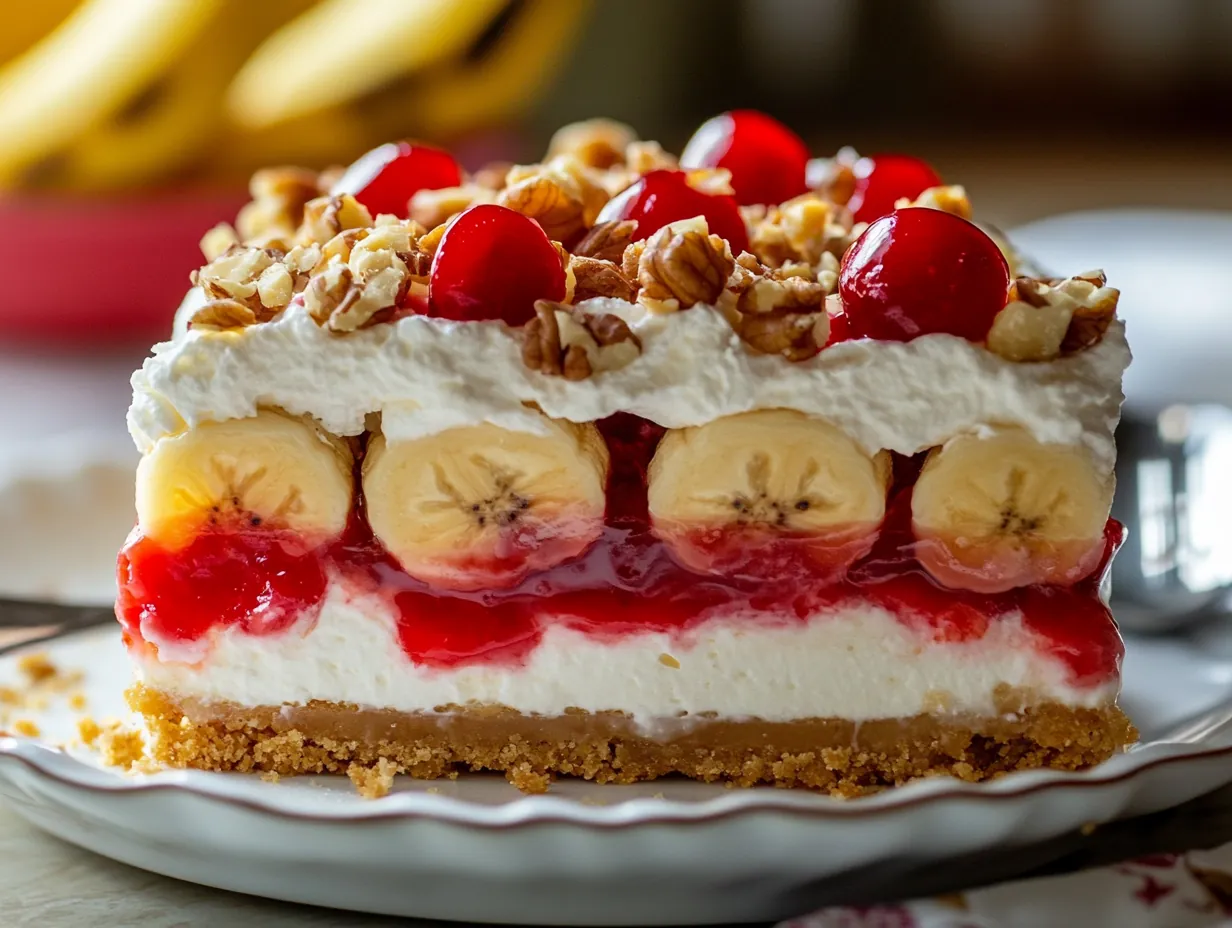
Gathering Your Sweet No-Bake Banana Split Essentials
Creating this delicious no-bake dessert starts with gathering quality ingredients. Each component plays a vital role in building those beautiful, flavorful layers. Prepare your kitchen for a simple, delightful assembly.
- 2 cups graham cracker crumbs
- 1/2 cup melted butter
- 1/4 cup granulated sugar
- 2 (8 oz) blocks cream cheese, softened
- 1 cup powdered sugar
- 1 teaspoon vanilla extract
- 1 (8 oz) whipped topping (like Cool Whip)
- 3–4 bananas, sliced (slightly firm works best)
- 1 (20 oz) can crushed pineapple, very well drained
- 1 cup strawberry pie filling or mashed sweetened strawberries
- 1–2 cups whipped topping
- Chocolate syrup (for drizzling)
- 1/2 cup chopped peanuts or walnuts
- Maraschino cherries
Ingredient Notes:
Cream Cheese: Use full-fat cream cheese for the best texture and flavor. Ensure it is completely softened at room temperature before mixing. This prevents lumps and ensures a smooth, creamy filling. If you need a substitute, mascarpone cheese offers a similar rich, tangy creaminess.
Bananas: Choose bananas that are slightly firm. They hold their shape better when sliced and layered. Avoid overly ripe bananas, as they can become mushy in the dessert. Sliced fresh peaches or even canned, well-drained peaches can be a delightful substitute if bananas are not preferred.
Crushed Pineapple: Draining the crushed pineapple very well is absolutely crucial. Excess liquid will make your dessert watery and soggy. Press it firmly in a fine-mesh sieve to remove as much moisture as possible. For a different fruit flavor, well-drained mandarin oranges can offer a lovely citrusy twist.
Crafting Your Easy Banana Split Masterpiece
Let's walk through each step to create this wonderfully layered no-bake dessert. It is a straightforward process that yields a spectacular result.
Prepare the Crust: In a bowl, mix graham cracker crumbs, melted butter, and sugar until evenly combined. The texture should resemble damp sand. Press the mixture firmly into a 9×13-inch glass dish, making sure it’s even and compact, especially in the corners. Chill in the refrigerator for 20–30 minutes until set.
Chef's Tip: Press the crust down very firmly using the bottom of a glass or your knuckles. This ensures a stable base that won't crumble when sliced. Chilling allows the butter to solidify, setting the crust perfectly.Make the Cream Layer: In a large mixing bowl, beat the softened cream cheese until completely smooth and free of lumps. Add powdered sugar and vanilla extract, then mix until creamy. Gently fold in the whipped topping until light and fluffy.
Chef's Tip: Ensure your cream cheese is at room temperature to avoid lumps. When folding in the whipped topping, use a spatula and a gentle hand. This keeps the mixture airy and light, creating that delightful melt-in-your-mouth texture.Assemble the Base Layers: Spread the cream mixture evenly over the chilled crust. Take your time to smooth it out without disturbing the crust underneath.
Chef's Tip: Use an offset spatula or the back of a spoon to gently spread the cream. Work from the center outwards to avoid pushing the crust up the sides. An even layer here creates a beautiful foundation.Add the Banana Layer: Arrange banana slices along the edges of the dish first (this creates that pretty layered look when sliced), then spread the remaining slices evenly across the surface.
Chef's Tip: Slice bananas uniformly for a neat appearance. Placing slices along the perimeter first makes for a stunning presentation when you cut into the dessert. Make sure the slices cover the cream layer completely.Add Pineapple Layer: Spread the well-drained crushed pineapple evenly over the bananas. Avoid pressing too hard to keep layers intact.
Chef's Tip: Draining the pineapple is the most important step for this layer. Squeeze out every bit of liquid. This prevents your dessert from becoming watery. Spread it gently to keep the banana slices in place.Add Strawberry Layer: Spoon and spread the strawberry filling over the pineapple layer. Keep it even but don’t overmix the layers.
Chef's Tip: If using mashed fresh strawberries, sweeten them lightly with a touch of sugar. Use a soft touch when spreading the strawberry layer. You want a distinct color separation for a beautiful visual effect.Top It Off: Spread a thick layer of whipped topping across the entire dessert. Drizzle generously with chocolate syrup, sprinkle chopped nuts, and place cherries evenly across the top.
Chef's Tip: Get creative with your toppings here. You can add extra sprinkles, mini chocolate chips, or even a different type of nut. Ensure even distribution of the final toppings for a balanced flavor in every slice.Chill and Set: Refrigerate for at least 4 hours, but overnight is best for clean slices and fully set layers.
Chef's Tip: Patience is key for this no-bake wonder. A longer chill time allows all the layers to firm up beautifully. This makes for cleaner cuts and lets the flavors meld together wonderfully. Overnight chilling truly yields the best results.Serve Cold: Slice into squares and serve chilled. Use a clean knife between cuts for neat layers.
Chef's Tip: For super clean slices, run your knife under hot water and wipe it clean between each cut. This technique helps glide through the layers without dragging any ingredients. It makes for a professional-looking dessert.
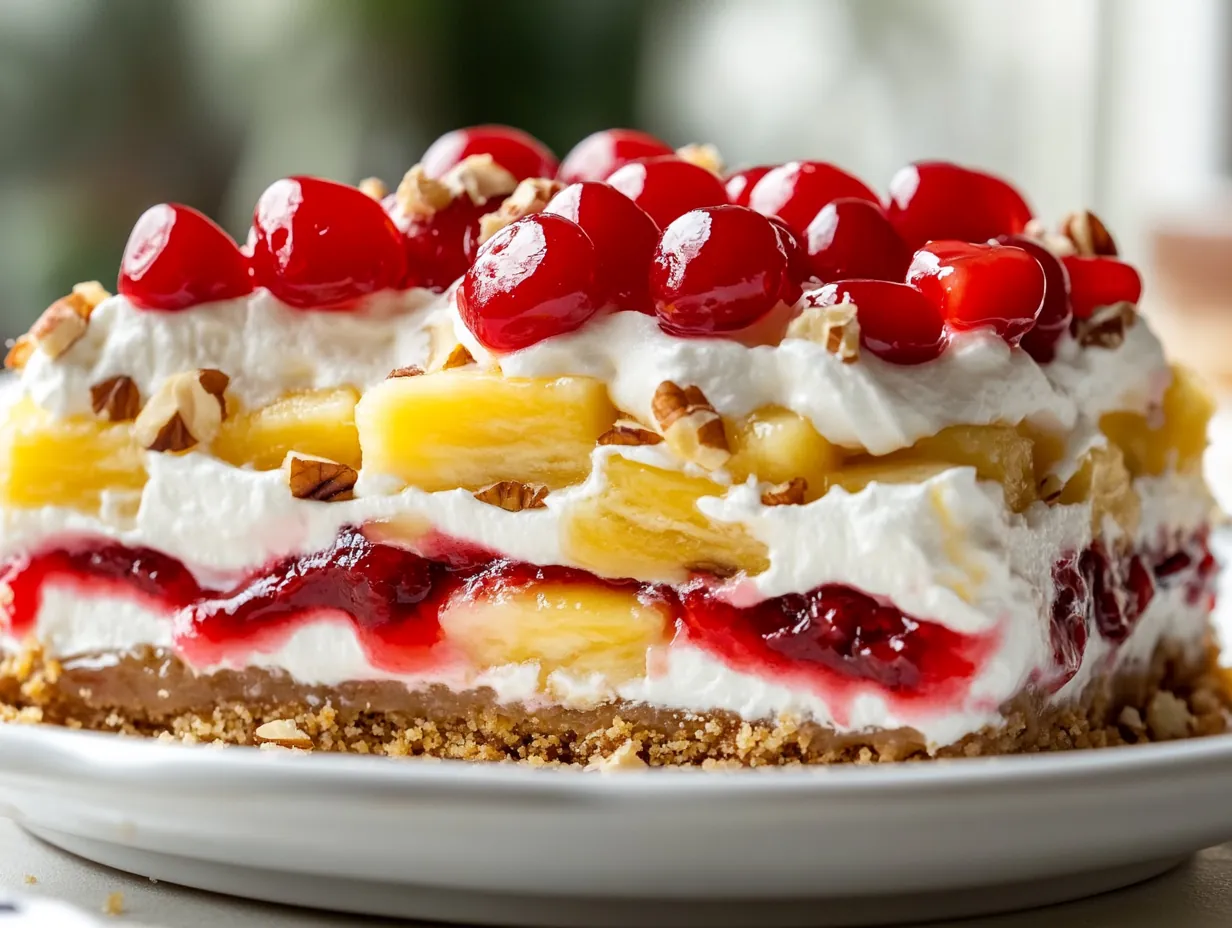
Exploring Creative No-Bake Banana Split Ideas
While the classic No-Bake Banana Split Dessert is perfect as is, there are many delightful ways to customize it. Feel free to play with flavors and textures to suit your taste. These ideas will inspire new dessert adventures.
My Creative Touch:
- Tropical Twist: Replace the traditional banana split fruits with a tropical medley. Think sliced mango, kiwi, and a sprinkle of toasted coconut flakes. A layer of passion fruit curd could add a wonderful tangy brightness. This version transports you to a sunny island getaway.
- Chocolate Lover's Dream: For those who adore chocolate, swap graham cracker crumbs for chocolate cookie crumbs in the crust. Add a layer of chocolate pudding or chocolate ganache before the fruit. Top with chocolate chips and a rich chocolate fudge sauce. It is pure chocolate indulgence.
Gourmet Pairings:
- Drink: A tall glass of freshly brewed iced sweet tea makes a perfect pairing. Its refreshing sweetness balances the richness of the dessert. This classic Southern beverage complements the dessert's homey charm beautifully.
- Side: Serve a small dish of fresh berry compote alongside each slice. The tartness of mixed berries, lightly sweetened, offers a wonderful contrast. It cuts through the dessert's richness and adds another layer of fruitiness.
Keeping Your No-Bake Banana Split Delight Fresh
Proper storage ensures your delicious no-bake dessert stays fresh and enjoyable for days.
Storage: Store the No-Bake Banana Split Dessert in the refrigerator. Cover the dish tightly with plastic wrap or aluminum foil. It will stay fresh and delicious for 3 to 4 days. The flavors tend to meld even more over time, making it truly enjoyable.
Freezing: I do not recommend freezing this dessert. The whipped topping and cream cheese layers can change texture upon thawing. They may become watery or grainy. Bananas also tend to brown and become mushy when frozen and thawed. This dessert is best enjoyed fresh from the refrigerator.
Reheating: This is a chilled dessert and should always be served cold. No reheating is necessary or recommended. Simply take it out of the refrigerator a few minutes before serving. This allows it to soften just slightly for the best texture.
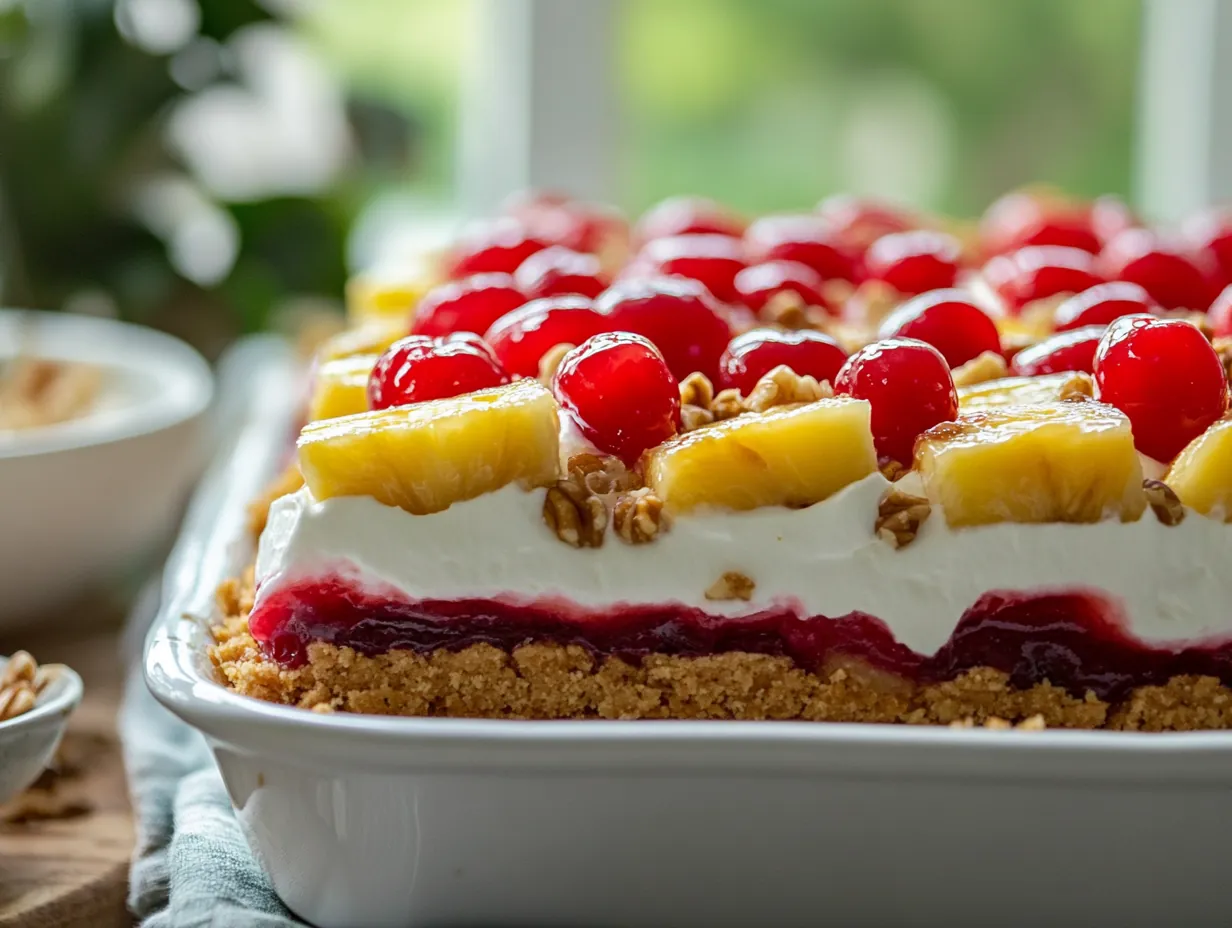
Common Questions About Your No-Bake Banana Split
I often get questions about making this delightful dessert. Here are some common inquiries that might help you create your best No-Bake Banana Split yet.
Can I make this No-Bake Banana Split Dessert ahead of time?
Absolutely, making it ahead is highly recommended! The dessert needs at least 4 hours to set properly. However, preparing it the day before and letting it chill overnight truly yields the best results. This allows the layers to firm up and the flavors to deepen beautifully.
What happens if I do not drain the crushed pineapple well enough?
Not draining the pineapple thoroughly is a common mistake. Excess moisture from the pineapple will seep into the other layers. This can make your dessert watery and soggy. It will also affect the overall texture and stability of the dessert. Always press out as much liquid as possible.
Can I use fresh strawberries instead of strawberry pie filling?
Yes, you can certainly use fresh strawberries! Simply mash about 1 to 1.5 cups of fresh strawberries. Sweeten them to your taste with a tablespoon or two of granulated sugar. Allow the sweetened berries to sit for about 10 minutes. This helps them release some juice and meld flavors before spreading. This fresh option adds a lovely vibrant taste.
Making this No-Bake Banana Split Dessert is more than just following a recipe. It's about creating moments of joy and sharing a little bit of homemade love. As Claire Bennett, I find immense satisfaction in these simple, soulful dishes. They bring warmth to our tables and smiles to our faces.
I hope you feel inspired to try this easy, delightful dessert. It is truly perfect for any family gathering or a quiet afternoon treat. Don’t worry about perfection; homemade always tastes best. The beauty is in the layers and the shared experience.
Thank you for joining me in my Savannah kitchen today. I would love to hear how your No-Bake Banana Split turns out! Please share your thoughts and creations with me. Until next time, keep savoring every delicious, homemade bite.
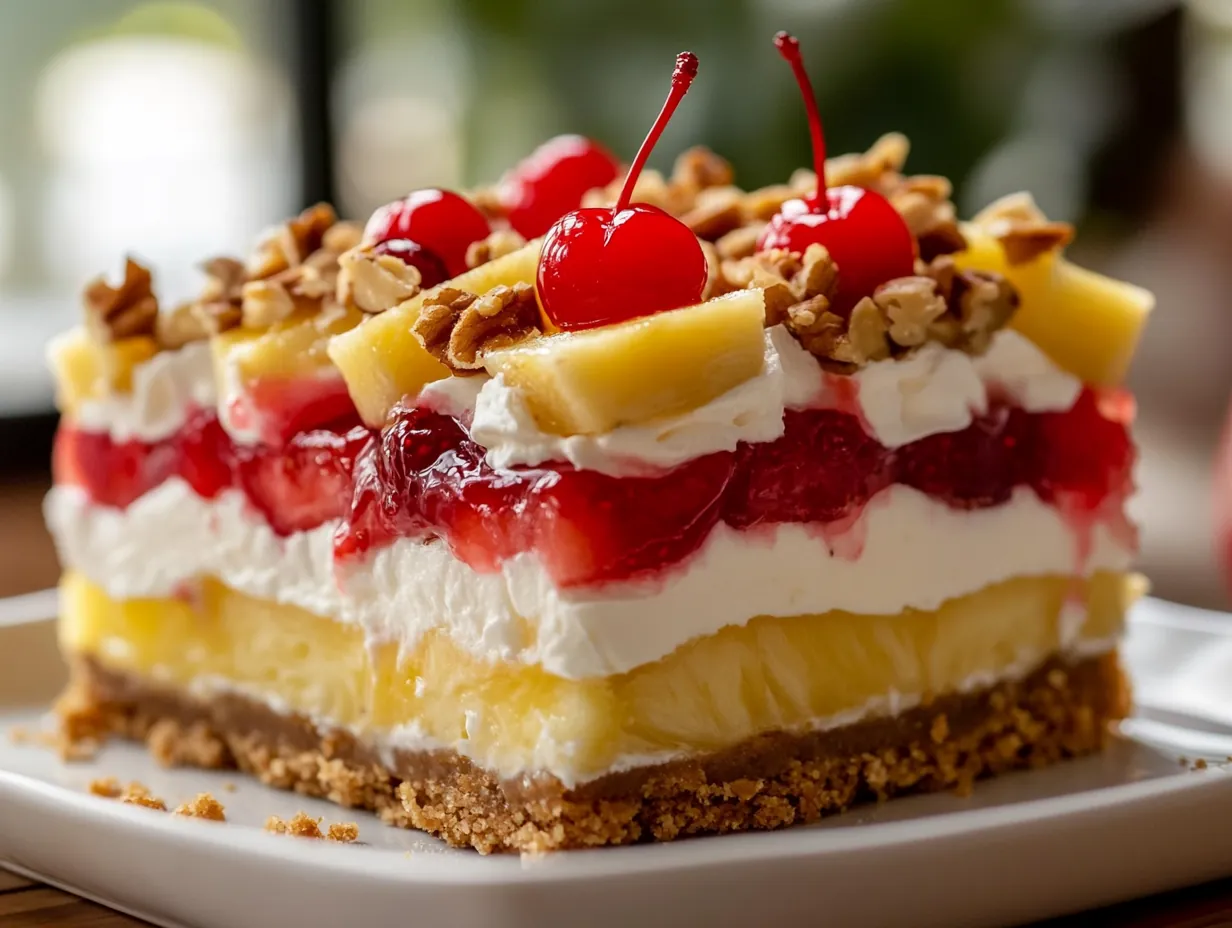
Reader Reviews
This has become my go-to recipe! I have made it probably six times already and it never disappoints.
The step-by-step instructions made this so easy to follow. Even my kids helped make it. A new family favorite for sure!
Made this last night and my family absolutely loved it! The flavors were perfectly balanced. Will definitely be making this again very soon.
Made this for a potluck and got so many compliments. Everyone was asking me for the recipe. Definitely a 5-star dish!
I have been cooking for 20 years and this recipe impressed even me. The technique tips are really professional and useful.
Leave a Review